Ultimate Guide to Pi-Hole: Boost Privacy and Browsing Speed

Nikoloz Kokhreidze
Explore the ins and outs of Pi-Hole, the network-based ad blocker that enhances privacy and browsing speed. Set up on Raspberry Pi for a secure experience.

Introduction
Let's face it; online businesses have been tracking your browsing activities for decades. They have been using your data to analyze your interests and show you the ads that would guarantee your click and generate revenue to advertising agencies and ad owners. Heck... even this privacy-minded blog uses a tiny Google Analytics script to know if people read this stuff.
The rise of tracking has also boosted interests in ad blockers and privacy-focused browsers. While AdBlockers are great tools to prevent tracking and blocking ads, they are sometimes not so effective and can harm your browsing speed.
AdBlockers work in a straightforward way:
1) Install the adblocking extension in your browser
2) Visit a website that you usually use
3) While the site is loading, adblocker checks its content and scripts against a list of scripts and trackers that it knows to block
4) If there is a match, the content will not be loaded in the browser
I see a couple of main issues with this approach:
1) The content needs to be loaded for the extension to read it and make decisions, which still affects the speed
2) Extensions require access to your browsing data:
- Access your data for all websites
- Read and modify privacy settings
- Access browser tabs
- Access browser activity during navigation
Hence, you might not be fully confident if the developer of AdBlocker XYZ collects your data and how they will use it. So it comes back to trust.
But, what if there was a way not to load the "bad things" in a browser at all? And what if we had full visibility on what is blocked, how, and why? That is where the Pi-Hole comes in to play.
Pi-hole is a Network-based open-source solution that allows you to block content before they even reach the browser. It can be deployed on a Raspberry Pi to prevent unwanted content before you even see it. Pi-Hole has a simple and intuitive dashboard that helps users visualize the blocked content and customize various settings.
OSI Model Reference
Let's take a moment to see where Pi-Hole and AdBlockers stand by referring to the OSI Model.
OSI model conceptually divides computer network architecture into 7 layers in a logical progression. For you to see the website content in a browser (scripts, text, images, etc.), the content should start its journey from the Server that is hosting the web page, traverse different networks and networking devices around the globe and reach your home router. But this is not a final destination; content continues its path to your web browser by starting with the first, Physical Layer, of your device - which is Ethernet cables and radio signals from WiFi. After Physical Layer, it has to go through another 6 layers to reach your browser.
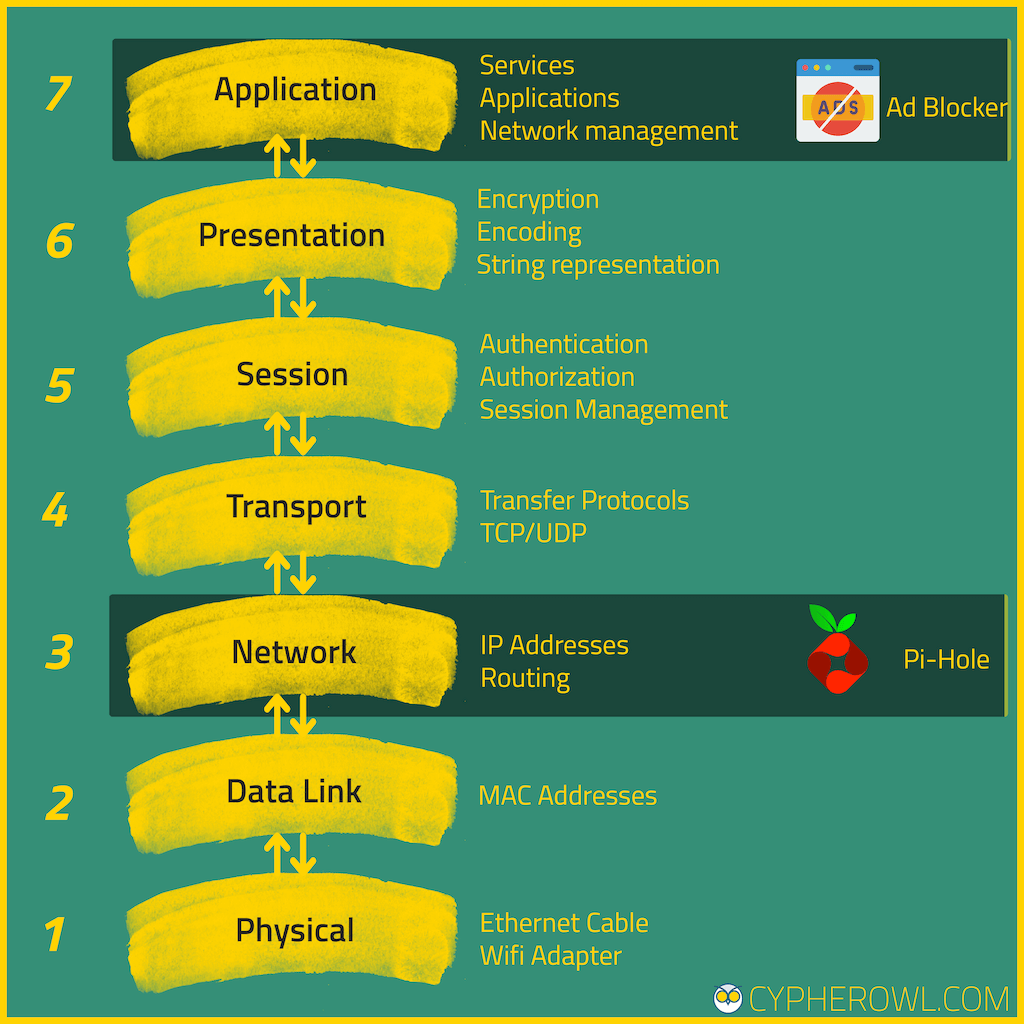
Browser extensions operate on the Application Layer, meaning that they have to check all the data coming in from different layers and are only able to block what is visible to you. Such AdBlockers cannot prevent communication or DNS requests going from your IP address or device to the website.
The most pragmatic approach to boost our privacy and increase browsing speed in this scenario is to weed out trackers from the content as early as possible. That's where Pi-Hole comes in handy, so let's dive in.
What do we need?
- Raspberry Pi - Any version with 2 GB RAM should work. But I would recommend Raspberry Pi 3 and above
- Raspberry Pi Power Supply - If you don't have it, buy it
- SD Card
- Ethernet Cable - You can use WiFi on Raspberry Pi, but Ethernet provides a higher guarantee of uninterrupted speed, and if your house has many blind radio spots, Ethernet should be the way to go. For this tutorial we will use Ethernet cable.
Setup Raspberry Pi
Get the OS
Pi-Hole supports popular Linux distros such as Debian, Ubuntu, Fedora, and CentOS, but since Raspberry Pi does not have a high performance like modern computers, it would be best to use the most lightweight and optimized OS for our use case. And what could be a better choice than an OS that was designed for our tiny device? Let's get our hands on Raspberry Pi OS.
Go to Raspberry Pi Imager page and download software for your OS. Make sure to install it too.
After the installation is finished, you should see something like this.
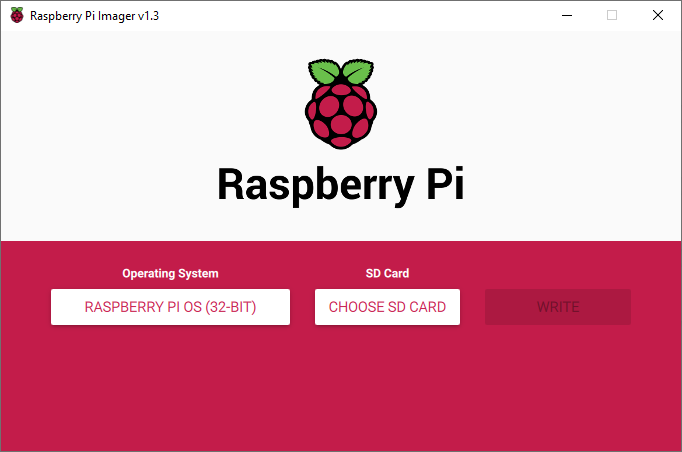
Click on Operating System, you will be presented with various options. If you want to interact with GUI on Raspberry Pi OS, choose Raspberry Pi OS. For this guide you will not need GUI, so I will choose Raspberry Pi OS (Other) option and than Raspberry Pi OS Lite. Next, choose your SD card and click Write. After the process is finished, OS should be loaded on your SD card.
Boot the OS
Insert the SD card, HDMI cable, Ethernet cable, keyboard and mouse in your Raspberry PI. Plug the power supply in the socket. Your machine should power up and services will start to initialize, after all services are up and running you will be asked to login. For, now login via default username: pi and password: raspberry
Secure the OS
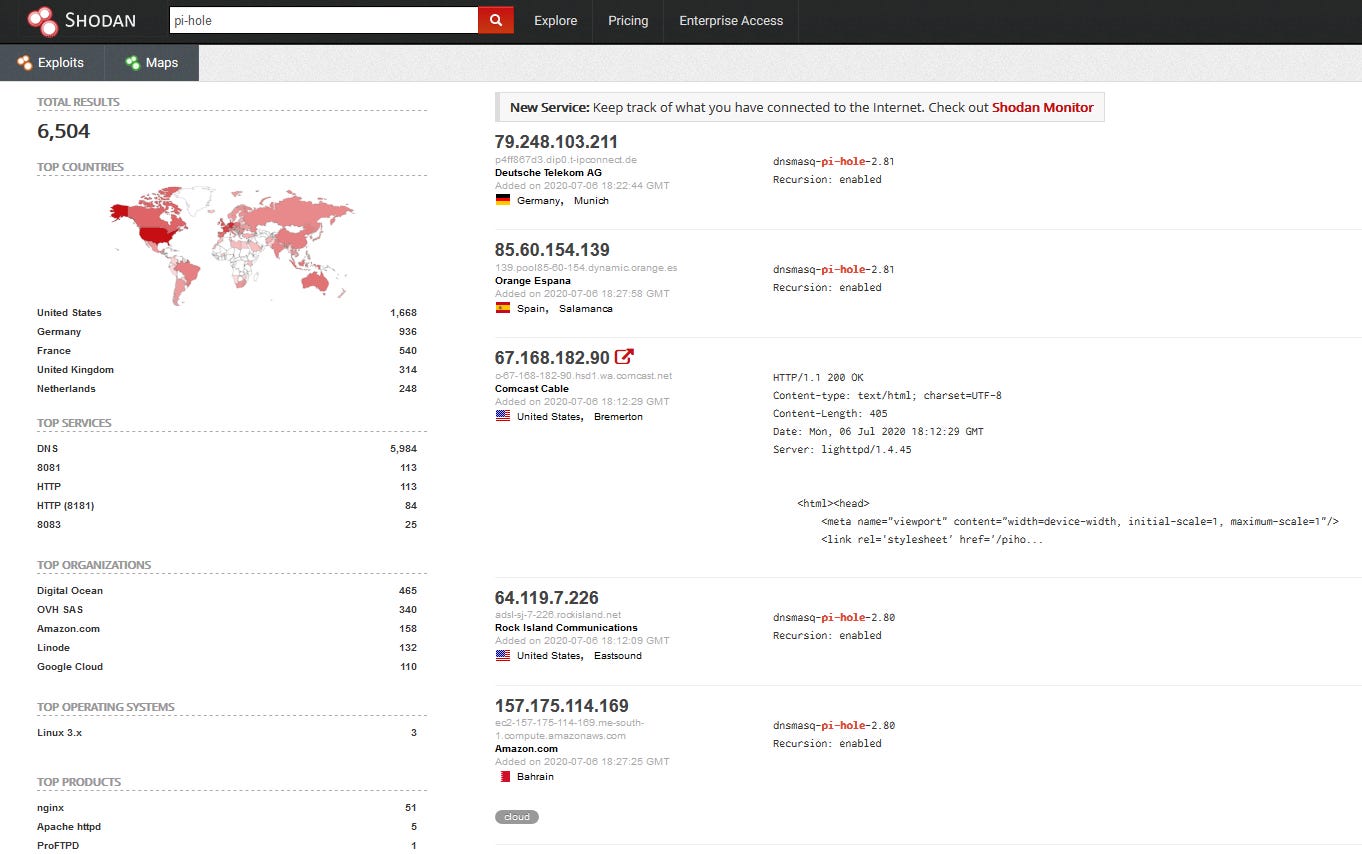
First and foremost, I strongly recommend not to expose your Raspberry Pi or Pi-Hole to the public internet. Ensure that your Pi instance is running only in your home network, and it is not reachable from the public internet. Exposing Raspberry Pi, Pi-Hole, or any other device to the internet is the same as asking to be attacked and trust me; it will be a matter of minutes/hours before that happens. By running a simple search in my favorite search engine, Shodan, we can see over 6500 publicly accessible devices. You should not want to be part of that list.
After fresh install we need to take care of security. As you have already noticed, we are using default user and password, let's harden it up little bit.
Create new user and password
Let's add a new user named Bob - change Bob with a username of your choice:sudo adduser bob
Enter the desired password.
Your user is now created but we need to add bob to sudo group to give him advanced permissions. Make sure to change bob to your username:
sudo usermod -a -G adm,dialout,cdrom,sudo,audio,video,plugdev,games,users,input,netdev,gpio,i2c,spi bob
Let's double-check that everything went well.sudo su - bob
If the command is successful than everything went ok and we ended up with 2 root users boband pi. There is no need to keep both, so we remove the weakest link, which is default user pi.
First, let's kill all processes ran by pi:sudo pkill -u pi
Now, remove the user and its home directorysudo deluser -remove-home pi
Make sure to reboot your device and log in with the new user.
Setup password requirement for sudo
Now let's make our life a little bit harder, but so for potential attackers too. For this, we will make changes in sudoers password requirements.sudo nano /etc/sudoers.d/010_pi-nopasswd
and change your user entry to ALL:
bob ALL=(ALL) PASSWD: ALL
Note: if this command does not work, you might not have nano installed, which is ok. In that case you need to use:sudo visudo /etc/sudoers.d/010_pi-nopasswd
The latest and greatest
Let's quickly check for updates of our Raspberry Pi OS by running:sudo apt update
Also upgrade installed packages to latest versions:sudo apt full-upgrade
Change Network Options
Raspberry OS comes with a configuration script raspi-config
, that can help us easily configure remaining settings:sudo raspi-config
Select Network Options -> Hostname -> OK-> Enter desired hostname for your device -> OK.
Optional: Let's set up WiFi if you prefer it over Ethernet.
Select Network Options -> Wifi -> Select your country-> Enter SSID (name of your Wifi network) -> Enter Wifi passwordOK.
Enable SSH
Select Interfacing Options -> SSH -> Yes
Now you should be able to login to SSH with username and password that we setup in previous steps.
To find out the IP address of your machine, just run:ifconfig
It should display the list of adapters and IP addresses assigned to them.
For even more security, you can use key-based authentication instead of a username and password. Since we all want to get to the hero of the day, Pi-Hole, I will skip SSH key setup from this post. It is covered in an official guide.
Install Pi-Hole
Welcome to the main part of this post.
As I mentioned before, Raspberry Pi is an open source project and the code is publicly available on their Github Repository
Let's login to our Raspberry Pi.
There are two simple ways to start the installation of Pi-Hole:
A) By running curl command
B) By cloning the repository
curl is one of the most useful command-line tools for transferring data, and we can use curl -sSL https://install.pi-hole.net | bash to start installation from the domain name install.pi-hole.net.
Now, while curl is simple and straightforward, it might have some pitfalls for ultra-paranoid: a) someone might overtake the domain b) someone might poison your DNS request to direct to malicious code c) you cannot read the code that the command is about to run (unless you visit the domain).
For this reason, I would recommend going with option B), while it still has some downsides, it allows you to check the whole code before running it.git clone --depth 1 https://github.com/pi-hole/pi-hole.git Pi-hole
cd "Pi-hole/automated install/"
sudo bash basic-install.sh
This command will clone the Pi-hole repository in to the directory called Pi-hole, will switch to that directory and run the installation script.
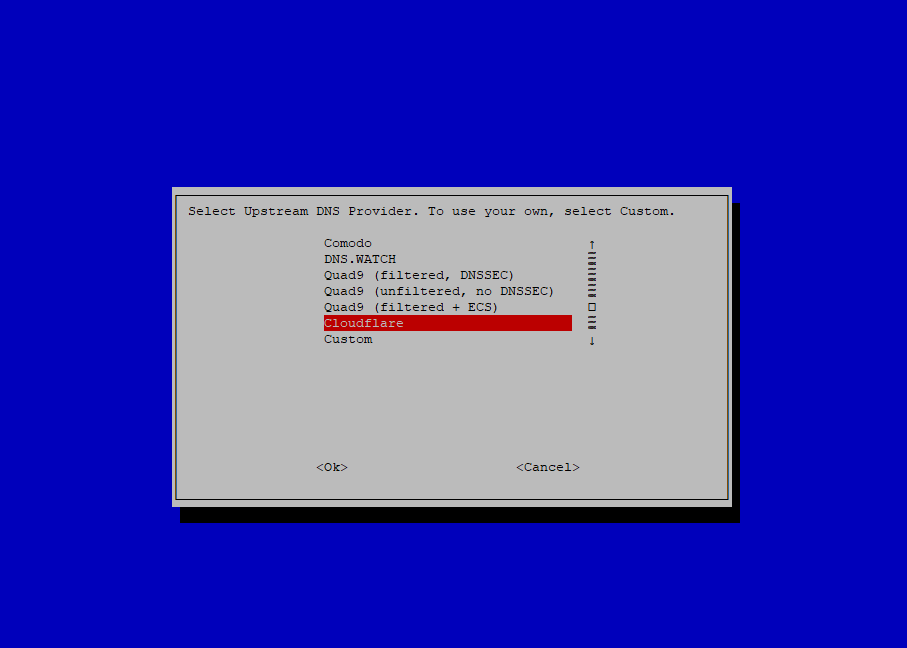
After two screens you will be asked to select an Upstream DNS provider. You might be wondering if Pi-Hole is so privacy-focused, why would you need to trust another DNS service providers such as Google? The Pi-Hole instance is located on your home network on a tiny device and to be able to resolve ANY domain that you type in a browser and eventually allow you to browse the web without interruptions, the support from a global provider is necessary. Otherwise, you might end up in a situation where the website you are visiting is not in the list of Pi-Hole DNS table, and therefore, you will fail to reach it. This type of experience is not something you would want.
In the Upstream DNS screen, you can scroll down and choose the provider you prefer. I usually choose Cloudflare, which offers more privacy-minded service. You can read more on their blog (https://blog.cloudflare.com/announcing-1111/)
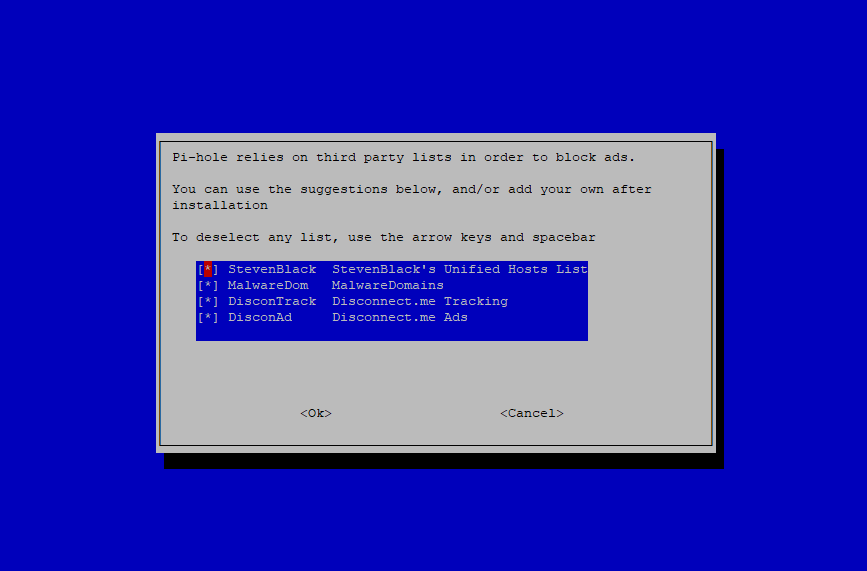
On the next screen, just choose OK to use all available blocklists. Later we will add more.
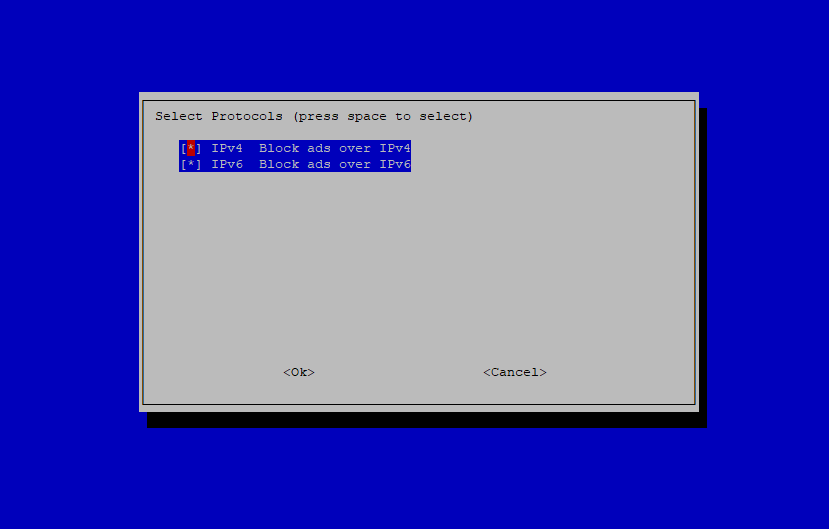
Here choose your IP setup, usually IPv4.
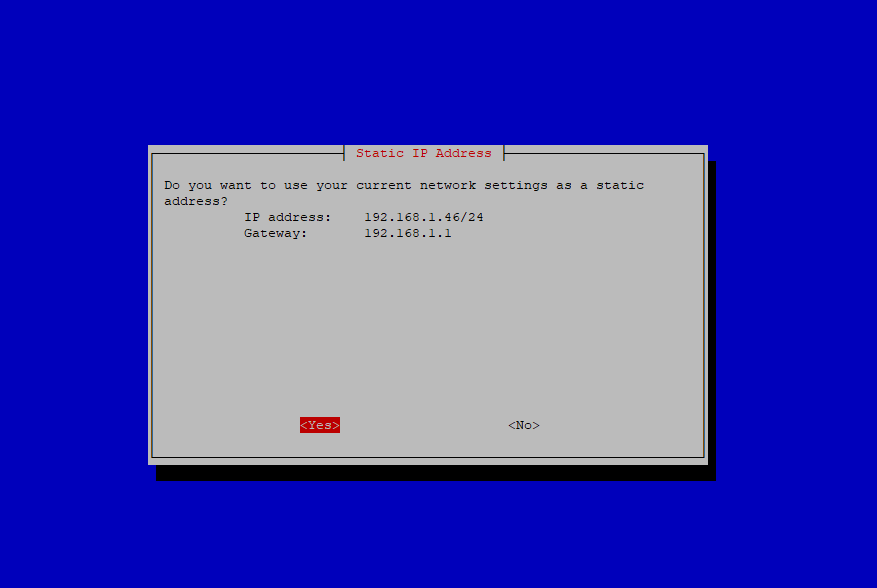
On the next screen, you will be asked to use an existing IP address configuration as static. Pi-Hole must have static IP to ensure service stability. Since all your devices will constantly be sending DNS requests to this IP address, you would want to make sure that the service is always reachable, and one way to do it is to configure static/non-dynamic IP address. This will ensure that Pi-Hole always has the same IP address and your devices/router will know how to find it.
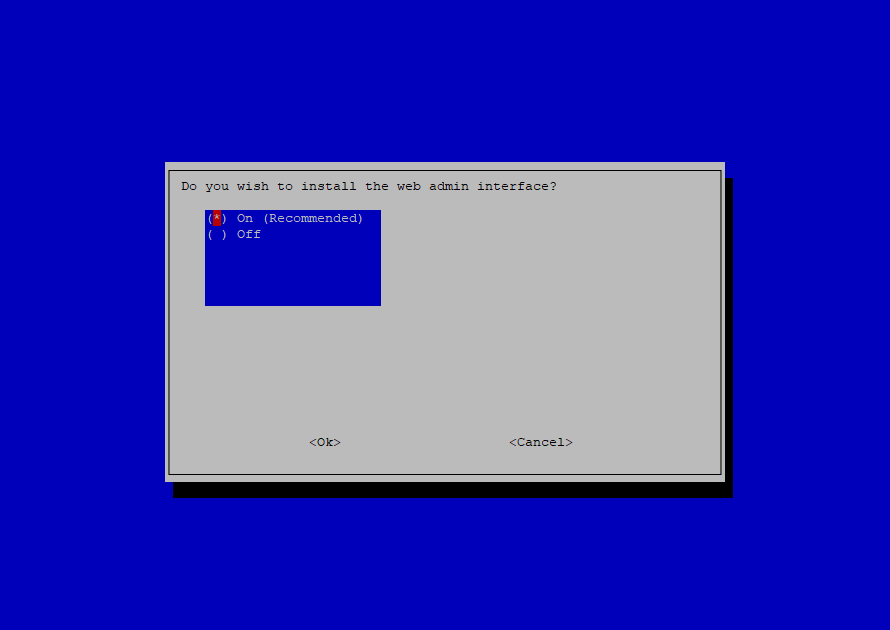
Next, you will be asked if you want admin interface - select On
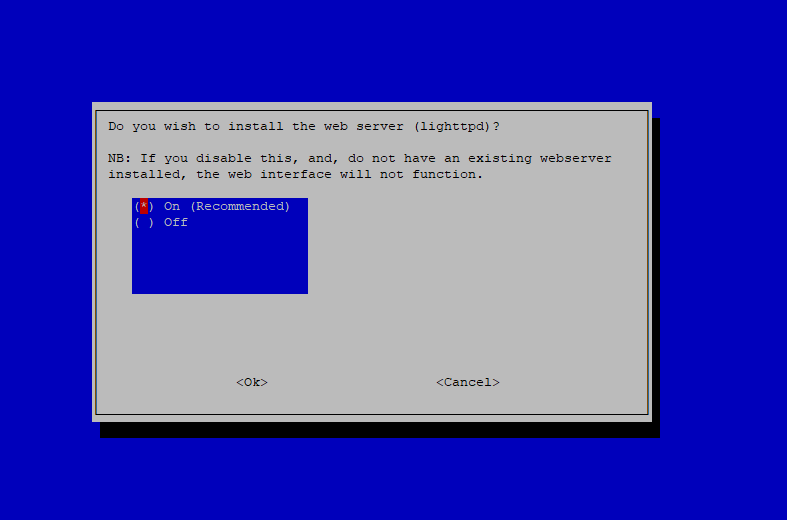
You will need web server (lighttpd) to use admin panel - select On
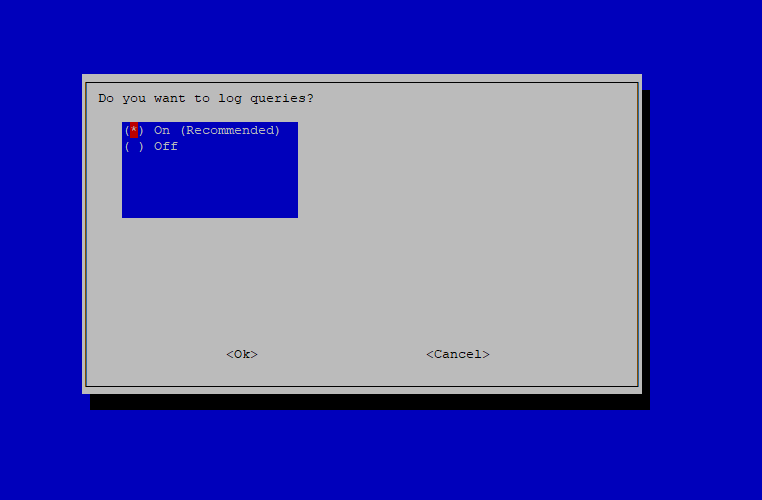
Without logging queries you will not have data to analyze in dashboard - select On
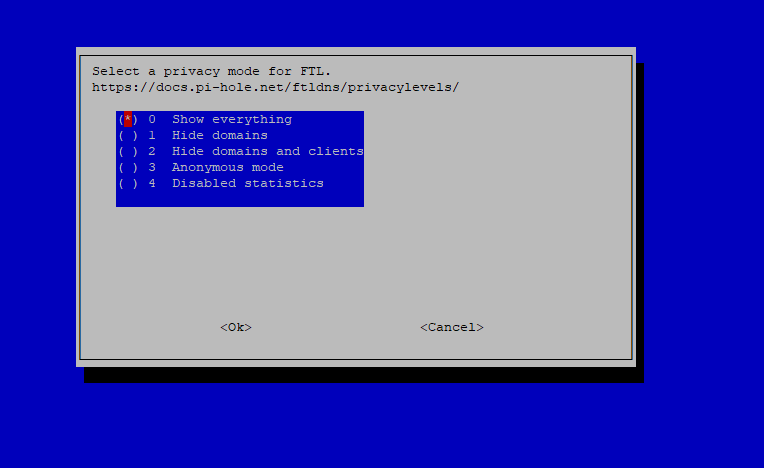
Since we have secured Raspberry Pi which is on our own network and since we want to analyze our traffic, I would leave the privacy settings to Show Everything
Installation is now complete, Pi-Hole will show your IP address and admin credentials to access the dashboard. Make sure to store the credentials in safe environment.
Configure Pi-Hole
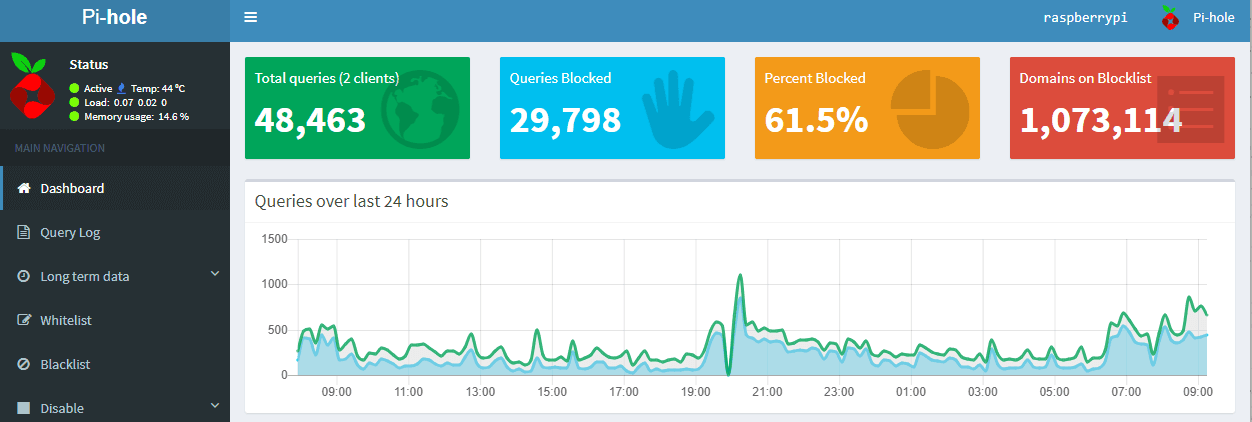
Let's access our freshly installed Pi-Hole. Open up you browser and go to http://<pi-hole_ip_address>/admin/index.php
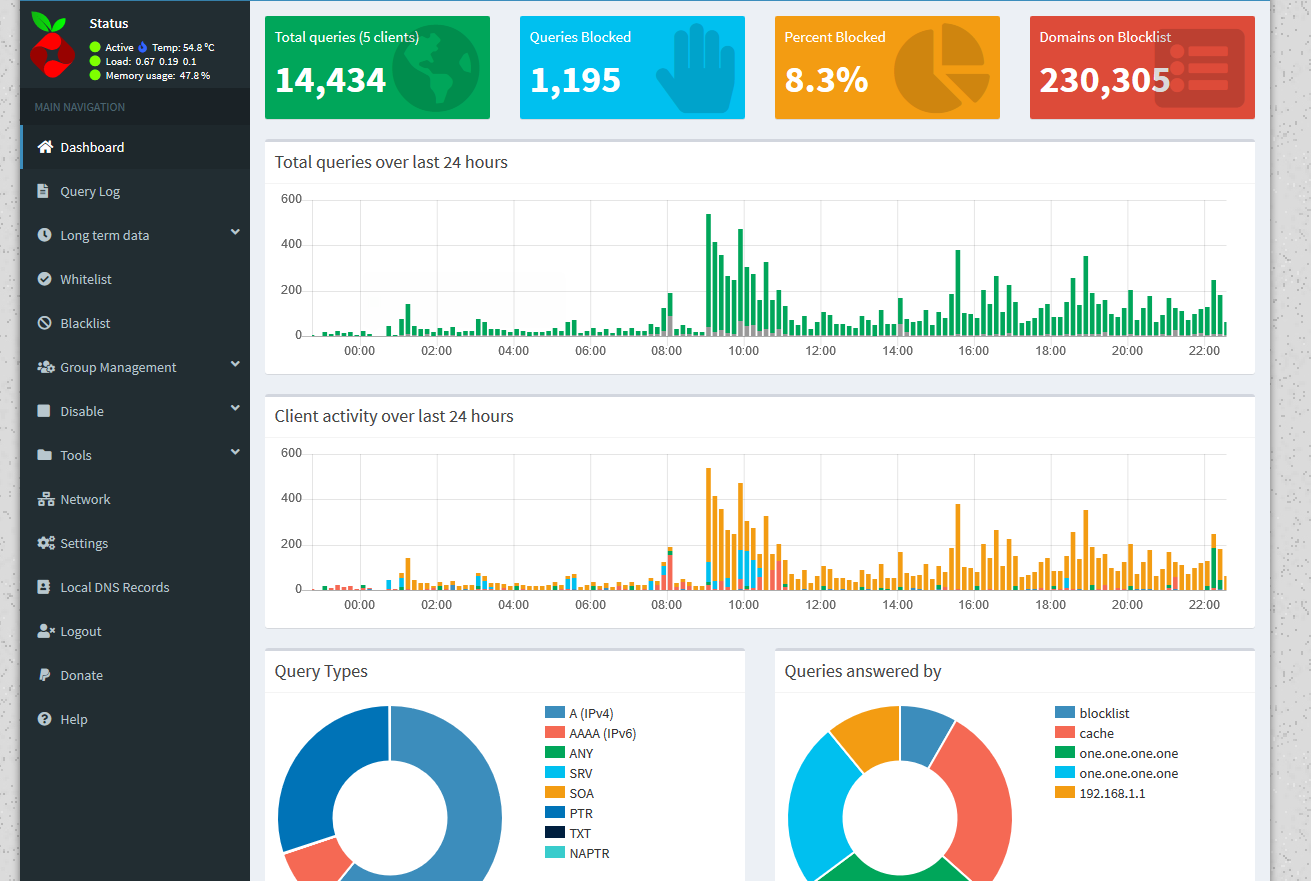
Enter your credentials and log in. You should see a screen similar to the one below, but since at this moment there are not many DNS requests sent to Pi-Hole (if any) your dashboard will not be that populated.
To populate our dashboard, we must ensure that all our devices are using Pi-Hole as a DNS provider. To do this, just log in to your router and change DNS IP address to the one of Pi-Hole. Restart the router to facilitate the DNS pickup process, and the router should push new settings to all connected devices.
After doing so, go to your favorite device and check DNS settings, if you see Pi-Hole's IP address then everything is OK, if not, change the DNS address manually.
Try browsing some websites from your device, and you should see new queries appearing in the dashboard.
Display hostnames instead of IP addresses
One thing you might notice in the Admin Dashboard, is that you only see IP addresses of devices that are sending DNS requests to various websites. But this is not so intuitive. So let's make sure that we can see hostnames instead of IP addresses in the dashboard. This can be achieved by transforming Pi-Hole to your DHCP service provider.
From Pi-Hole dashboard, go to Settings -> DHCP -> DHCP server enabled and populate the IP range that you want Pi-Hole to handle. Make sure that your disable DHCP service on your rotuer and input your Router's address in the Pi-Hole settings under Router (gateway) IP address
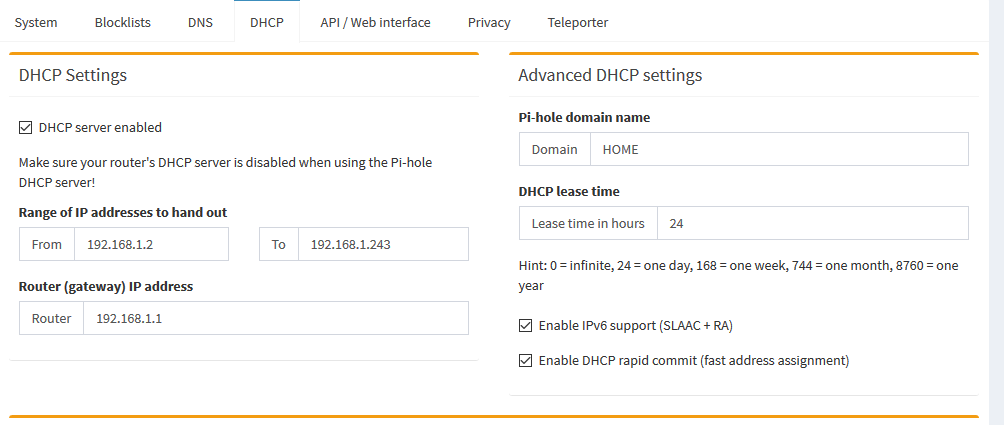
On the right side you can also configure your custom domain name for all devices. Hit Save.
Blacklist, Adlist and Whitelist
Next thing we want to check is the ads and trackers that we are blocking. Go to Group Management -> Adlist. Under 'List of configured adlists', you should see what it says.
You can also add more blocklists to the Pi-Hole, just search for pi-hole blocklist on your favorite search engine. You can also see some categorized list on Firebog.
Keep in mind that having massive blocklist might result in breaking of some websites, so you need to find some balance, between blocking everything and using the web as is. For example, you can check my blocklist on Pastebin.
If you want to block specific domains, you can also use a Blacklist functionality. Go to Blacklist and add any domain that you want to block. You can use wildcards to block everything from that domain. For example, my Blacklist currently looks like this (do not copy paste last line if you are using Facebook):
- (^|.)googleadservices.com$
- (^|.)googletagmanager.com$
- (^|.)tfbnw.net$
- (^|.)aaxads.com$
- (^|.)alb.reddit.com$
- (^|.)facebook.com$
There might be certain domains that you want to be fully available no matter what. In this case go to Whitelist and add desired domains to the list.
Pi-Hole iOS App
I recently discovered an unofficial iOS app for Pi-Hole called Pi-Hole Remote. It is very simple lightweight app that you can use for monitoring the dashboard and viewing Pi-Hole data from your fingertips. It does not have any ads, at least for now, and promises to keep the clean interface. I would definitely recommend to check it out.
That's it! Now all your devices on the network should be making DNS requests to Pi-Hole; Pi-Hole will check its adlist and blacklist for any unwanted content and send requests to Upstream DNS provider for non-blocked content. This should ensure that you see much fewer advertisements on the web, you have limited tracking capabilities, and your browsing speeds should be faster than before.